SLINGSHOT SLINGWING TECH DOWNLOAD WITH DESIGNER TONY LOGOSZ
USING THE WIND TO PROPEL YOU ACROSS THE WATER (OR LAND) IS AN ADDICTING SENSATION, AND THE SLINGWING IS THE NEWEST AND EASIEST WAY TO GET YOUR FIX.
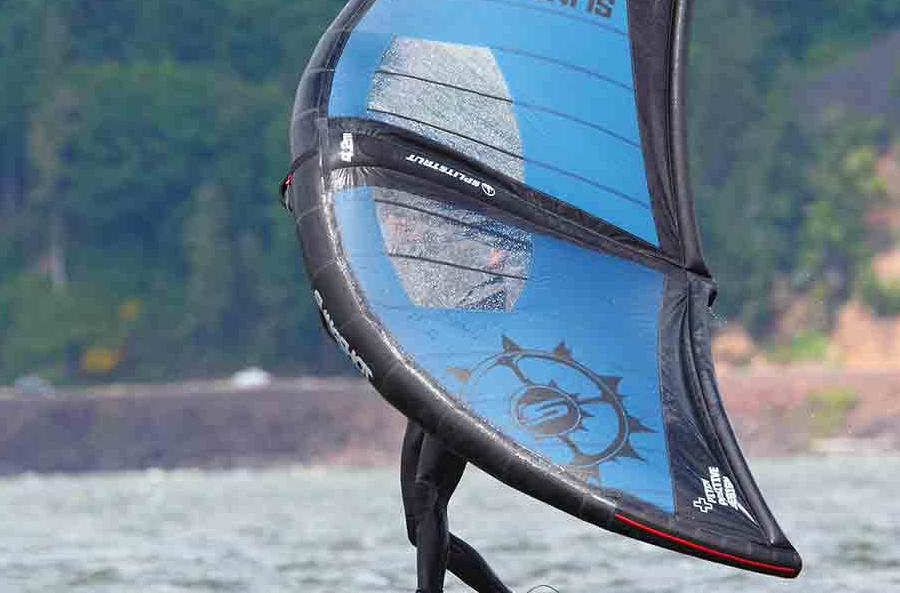
NEW for 2020, the SlingWing is part windsurfing, part kiteboarding, and part flying. It is a lightweight inflatable wing that has a rigid frame when pumped up and can be packed into a small bag when deflated. No harness, control bar, lines, mast, boom or battens needed! Combine it with a paddleboard or hydrofoil and fly across the water or it can also be used with snow sports or skating for on land use. All powered by the wind.
What sets the SlingWing apart from other windwings is the unique design of the inflatable trailing edge. This feature gives it a “pitch positive” flight and keeps it from flapping, fluttering and folding in the wing.
Even if you aren’t an experienced wind junkie, it’s a fun and simple style of riding that you’ll enjoy instantly.
Here is the tech breakdown from designer, Tony Logosz:
Hi, my name is Tony Logosz and I am here to talk about this SlingWing Classic 4.2. This sport is kind of evolving. It doesn’t really have a name yet. It’s known as wingsurfing, wing foil, kite wing, SlingWing. I think it’s going to be here to stay. I’m sure the name will settle down, but we’re going to call it Slingwing for Slingshot. So let’s get into the details:
First thing you notice with the SlingWing 4.2, is it has quite a big leading edge diameter, and it has a lot of segments which gives it a nice curve, and really good structure. So let’s talk about this trailing edge tube. It has a few functions that we’ve learned over the years. One, we dialed it in to make the wing PITCH POSITIVE, so it gives the wing reflex and it really makes it stable, makes the wing silent, and it won’t flutter. It makes it a really solid structure but also gives the wing some reflex. And that reflex is just a nice kind of thing, so when you’re tacking, moving around, you can kind of, the thing’s always going to just float there.
SlingWing has an inflatable trailing edge with a high-pressure top off valve. It is a game changer and eliminates any flapping.
This is a top off valve that’s just a ball valve. I would recommend if it’s just normal conditions, you just pump it up to 15 PSI and you don’t need to top it off. But if it’s really, really, you know you’re powered up and you want the frame to be even more rigid, these tube diameters are smaller so you can top this up over time if you want more performance in higher wind, and more efficiency, making this rear tube as rigid as possible, is very effective.
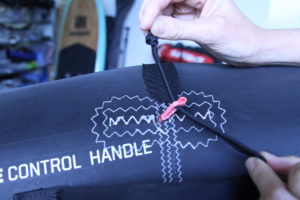
The most important part is actually the secure handle system that we developed.
This handle, right here, we have a Y-boom right here. This allows you to change your grips, to control the wing. And we also have loops right here, that they mount on the side of the strut. This is a split strut set up. Once you grab a loop, you can fly this thing, you can really control the wing and you can also grab this up here, and you can grab below the loop and just basically you’ll find out that you want to CONTROL THE ROLL. What you’ll find, if you’re hanging on the handles in the middle in a boom situation, there’s a lot of roll on these wings, and the dihedral can’t override the stability. Once you grab here, you can just lock this thing out, and it becomes really solid. And right there, that’s kind of the CG of right in that zone. You can let off and now if it’s flying, you also have the front handle grip.
Now if you’re flying down the wave, you can just basically just let it fly. When you’re going, you can sheet in with your backhand, but it’s not a windsurfing sail, so you want to keep your wingtip out of the water. A beginner thing, is you always want to like bring it too far down. And if you drag that tip, you’ll have to start the whole process, it’s going to flip the wing over. So you want to kind of keep the wing high and just a little bit of motion like this. And if you pull in with your backhand like that, there’s a lot of power, but you kind of give it a little, almost like an up and down motion.
And when you cut over, you pull in down, that’ll just keep you up on foil really quickly. Once you’re on wing, then your wing’s going to be kind of high. and now you’re just going to start riding. You can move the wing around and find the stability as far as like where you want to place it for upwind, downwind, it’s quite intuitive.
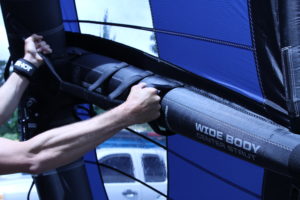
There are two ways to put your leash on, the sure fire way of it never coming off is to run your leash through the loop.
I recommend this way for most people. Run it through the loop, and then you have it thick onto the connections. Attach leash through itself to connect.
Fuente: https://blog.slingshotsports.com

